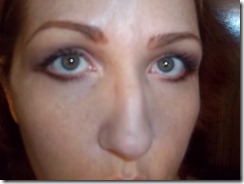
I have had some requests for some tutorials. I thought I would start with a basic nude eye. Most will say, “I know how to do a nude eye, it’s simple.” There are a few ways to do a nude eye: the day look and the night look. I am doing a nude eye for someone who has hooded eyes, which most women do have. The opposite end is the deep set eye, which has a whole other set of rules associated with eye shadow placement. If I get someone with deep set eyes then I will do a tutorial for those set of eyes.
A nude eye for day requires pretty much the same steps you would use for night, you just use different colors and less products. You will need at least three eyeshadow colors: one for the crease, lid, under the eye and under the brow. One other thing, I use a fourth shade of shadow to deepen my crease because my eyelid is so heavy. I would think that most would feel the need to skip that step. Some people are partial to using eyeliner but I find that eyeshadow, if used with the right brush, works quite well as an eyeliner. If you want an eyeliner on top of the eye, then go for it. On some eye shapes it is needed to help bring out the shape of the eye. You will also need mascara and possibly and eyelash curler. The type of the mascara depends on the type of lashes you have. Long thin lashes will need a volumizing mascara. Thick lashes will need a lengthening mascara. Some women like to curl their lashes. I have never enjoyed it, so I skip that step. Oh! I failed to mention the one most important step. Eyeshadow primer. This is so important because the eyeshadow will crease if you don’t use it. I am quite partial to Urban Decay’s Primer Potion. It is expensive ($20.00) but a little goes a long way and it works like magic. Another good one is Too Faced’s Shadow Insurance. It is about the same price as Urban Decay’s. These are available at Sephora and Ulta and their websites.
At night you will find that if you have used eyeshadow primer, your eyeshadow will still be intact. If so, then all you need to do is freshen up your shadow with another one that is a little bit darker in the crease to add some drama. And finally you could add some liquid liner for real drama.
You will have noticed I haven’t mentioned any colors yet. There are so many palettes out that mention “nude” and “naked” as their primary focus for eyeshadow. I am going to say that you pick a matte medium brown shade in the crease. For the outer edge of the lid and underneath the eye, use the same tone. It needs to be darker than the crease, but should be something that will make your eyes pop. Then a nice shimmery tone on the lid (also something that will help make the eyes pop). And finally for under the brow, also a light shimmer tone, not too shimmery, but a light tone in general. The key for the lid is to make the eyes appear larger. Then if you like, a liner, used very close to the lid line. Finally, mascara on the upper lashes at least. If the eyes are not very large keep it to the upper lashes alone. If the eyes are larger then upper and lower lashes are okay. Curling the lashes is good if you like that. For colors the best thing is to use something that is opposite the color wheel from your eye color. For example, I have a lot of green in my eyes so I use red tones.
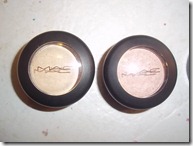
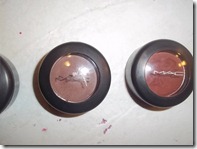
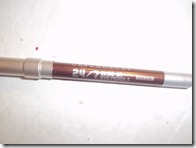
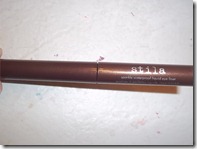
For this look I used the following colors: all MAC shadows (Chamomile, Tissueweight, Mulled Cider and Beautyburst), Urban Decay Bourbon 24/7 Glide On Eye Pencil and Stila Sparkle Waterproof Liquid Eye Liner. In the crease I used Mulled Cider (a medium to dark reddish brown), I used this to bring out the green in my eyes. Then on the outer edge of my lid I and under my eye I used Beauty Burst (my all time favorite MAC color, the perfect reddish brown; also used to bring out the green in my eyes). On my lid I used Tissueweight (a light peachy cream shimmer) and under the brow I used Chamomile (a yellow satin cream). For the day look I used the Urban Decay liner and then to add drama for night I used the Stila liquid liner. I used MAC's False Lashes mascara in black, I find it really gives lashes definition. A crease brush is used to put shadow in the crease, it has a slanted shape. You can also use it for the outer edge of the lid. Under the eye you will need a very thin slanted eye liner brush. A thick shadow brush can be used on the lid and under the brow. The shadows don't look nice until they have been blended together at the end.
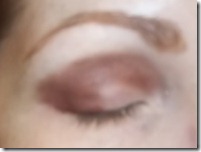
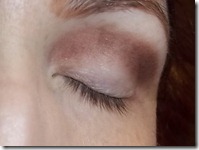
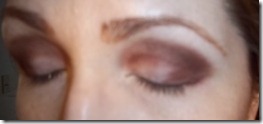
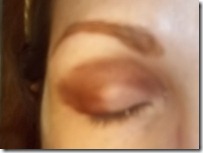
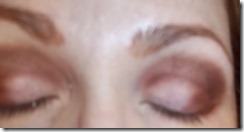
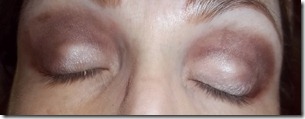
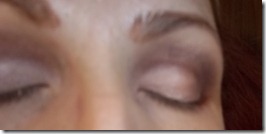
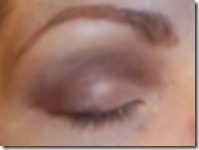
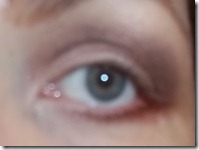
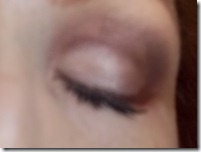
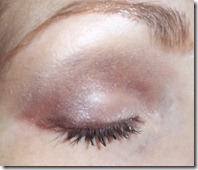
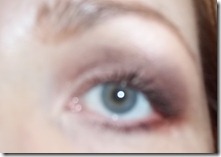
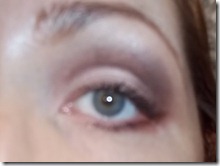
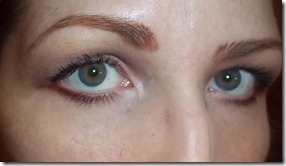
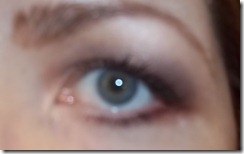
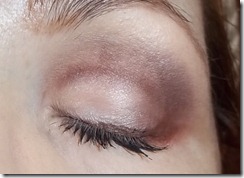

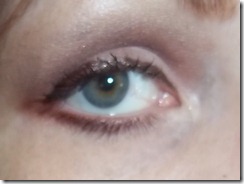
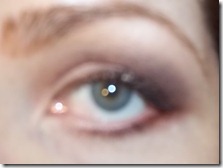
The photographs are progressions: crease, outer edge to lid to under the brow, etc. I used heavier colors because I am more comfortable with those. For some of you, lighter colors may be a wiser choice. The mains thing to consider are hair color and eye color. I have red hair and medium blue green eyes so I can wear these tones. A blonde with light blue eyes would not be able to wear them. I would love to hear some comments on this blog entry.


really good info! keep up the great work!
ReplyDeleteI need to try to follow this!
ReplyDelete